How to publish content in augmented reality in Jandig
Welcome to Jandig ARte!
For the newcomer artists and users, we would like to express our gratitude for having chose this platform as a tool for exhibiting your Artworks.
In this manual we will guide you, step-by-step, on how to create your own Augmented Reality based art pieces. We will also explain how the system works in a meaningful way, with some core concepts, so that you will know all the steps to be taken and how they affect your art. Concepts such as Markers, Objects, how they corelate to create an Artwork and an Exhibition.
Let’s get right to it, for this is a quick and essential read for those who want to use Jandig as their main AR art creator.
Quickstart tutorial
1) Go to “https://jandig.app/generator”. Upload the image to be used in the Marker without the black border (it will be added by the application). Download the Marker (Download .PATT Marker) and the image (Download image Marker) and store the files in a safe place. If you want, download PDFs with Markers for printing. Important: set the Patern Ratio to 0.60.
Go to “http://jandig.art” and create an account.
Click on “Upload Marker” and upload the image (with extension “.PNG”) and Marker (“.PATT”) created in the previous step. This image is the one that the Jandig camera will recognize.
Click on “Upload Object” and upload the GIF or video (WEBM or MP4 format) with your animation. This image Jandig will display over the camera.
Click on “Create Jandig Artwork”, choose the corresponding Marker and Object you just uploaded. An Artwork is the set of Marker and Object, linking to be presented in augmented reality.
Click on “Create Exhibition”. Choose one or several works. Give the set a title and define its URL. It will be used to access the set of Artworks created. For example, if you enter “expotest” the definitive URL to access your creations will be “https://jandig.app/expotest”.
Access the final URL you just created, point the camera at the Marker and watch the magic happen!
Tutorial - Learn the basics
Before anything else, an account need to be created, so that artists can deploy their pieces. It is not needed for those who only desire to appreciate an Artwork, but for those who want to actively work with art, it is essential.
To do that, please refer to the steps below.
Access Jandig’s website by clicking in the appropriate URL, and click the “Sign up” button.
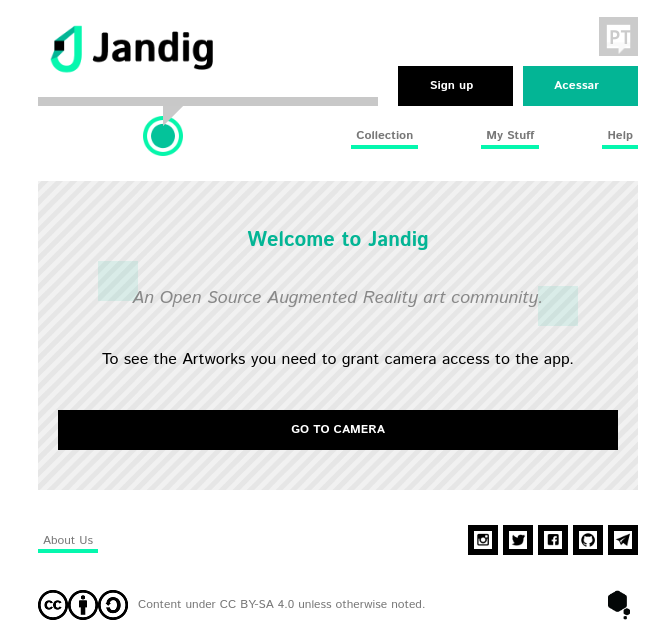
Jandig main screen
Fill the spaces with your informations, as shown in the image, and submit it!
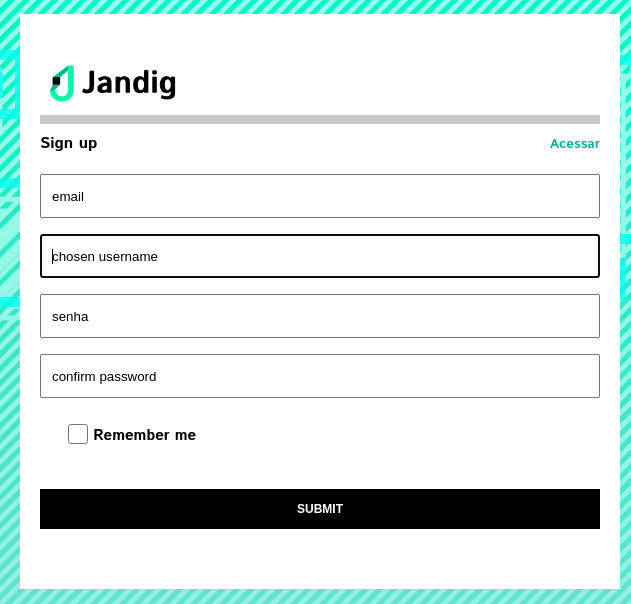
Sign up page
Congratulations! You have succesfully created your Jandig ARte account and can now actively contribute to the art community with your AR-based pieces!
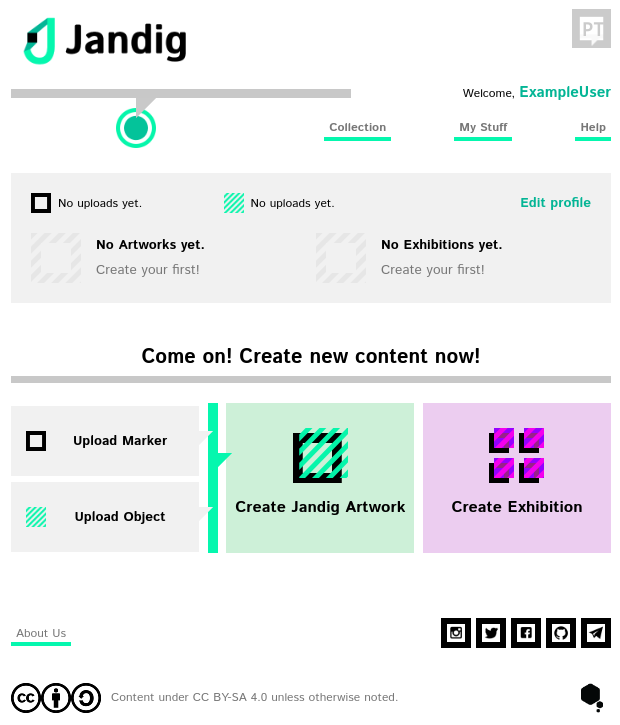
Post-login page
So now the next step would be to produce (and publish) your very first Artwork. To do that, there are a few concepts to go through before you can start.
Let’s take a look at them.
Markers
Markers are the very basis of your future Artwork. They are essentially an image, made by you, or not, that is processed so that it can be succesfully read by Jandig and present your Artwork.
They caracteristically have a black border that is inserted around the drawing, and this border serves for Jandig to recognize the Markers.
To create a Marker, all you need to have with you is your image. It can be anything, from a painting to a random picture you saved from Google Images. Jandig will do all the work of processing and generating your Marker.
To do that, head to this page, and submit your image for Marker generation. Take a look at the imagem down below to see what it looks like, and where to upload your image.
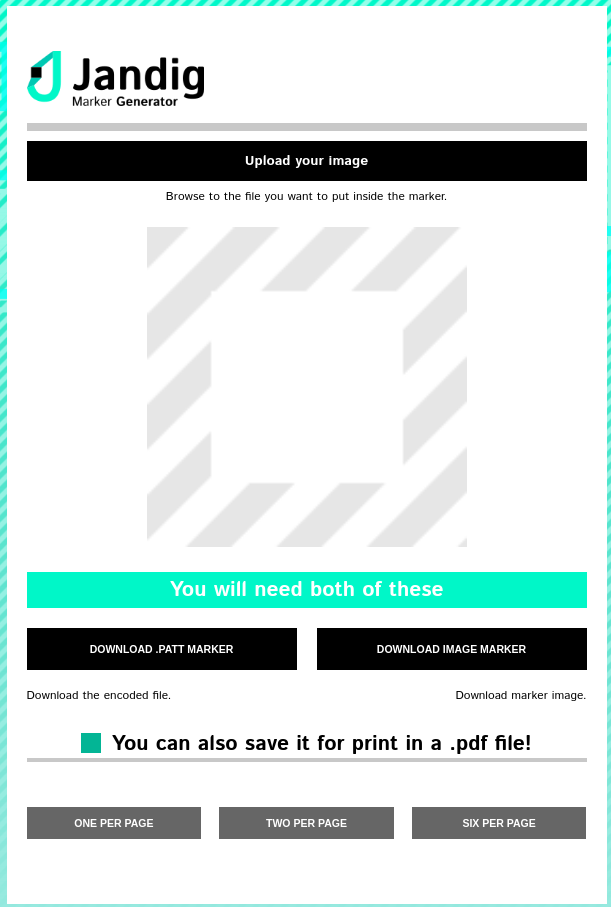
Marker generator page
Ok, so now that you have uploaded your image, go ahead and download the two files that will be given to you by Jandig, the .patt Marker file and the image Marker file. For the sake of brevity and simplicity of this manual, the pattern file (.patt) is the file created and used by most AR toolkits as the pattern the AR technology will recognize.
Store these two files in a safe location, for safekeeping.
Now all you have to do is upload the file! Go back to the application’s main page and select the button that says “Upload Marker”. You will be greeted by this screen.
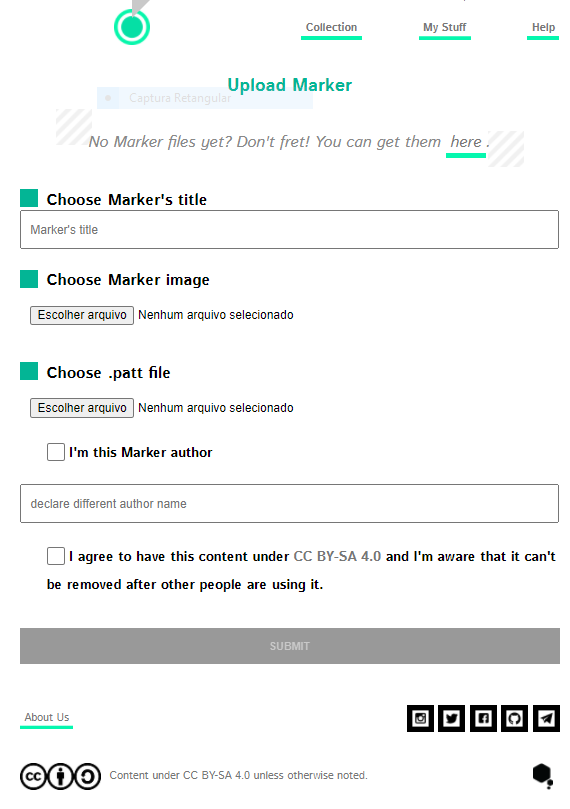
Marker upload page
This is where you will submit your Marker, so go ahead and fill the spaces with information like title and author’s name, in case you’re not the Marker’s creator, as well as choosing from your device the appropriate Marker image (that .png file from before) and the Marker pattern (that .patt file from before). Don’t forget to read all the informations the page contain.
Voila! You have succesfully created and added to your collection an AR Marker. For the next step, we will be creating an Object!
Objects
When you upload a Marker, the application will re-direct you to the main page again. From there, look for the button that says “Upload Object”, which is right below the “Upload Marker” button. Go ahead and click it, and the application will lead you to this page right here.
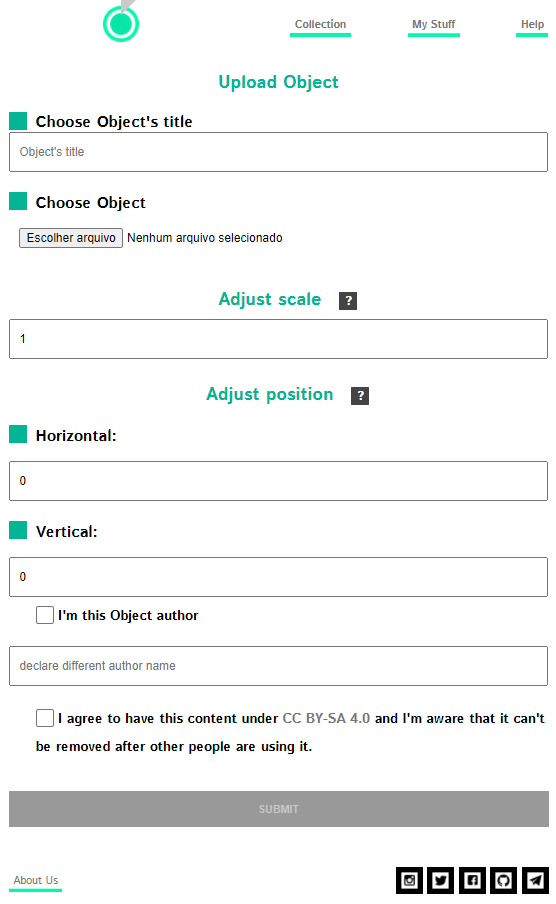
Object upload page
In this page, you will submit your Object. In Jandig terms, the Object is the animation that will show up in your screen when you read the Marker throgh your device’s camera. It is the real magic of AR and the one which all the work before will be useful for. So let’s take a look at the page and learn how to upload an Object.
While this submission form is bigger, the process is much simpler. Before filling it out, select and locate the file you want to upload. The formats currently supported in Jandig are .gif, .webm (including transparency) and .mp4.
There are no restrictions on size, theme, looping and other specifications, but we recommend that you choose content that has a perfect loop and is related to the Marker theme. Also, do not restrict yourself to using a file that you have found on the internet or on social media. Go ahead and use all your artistic skills to create your own!
Now is the time to keep in mind that scale and position of the Object will affect the Artwork. There are two fields where you can fill with numbers related to those two parameters:
The scale parameter, which is set by default to 1. If you want your image to be bigger, say twice the size, just change this number to 2. If you want it to be three times it’s original size, set it to 3, and so on for other sizes. This also applies for smaller sizes and decimals, such as 0.5 will be half the original Objects size.
The position parameter, which should be adjusted relative to the size of the Object on the screen. This one is further broke down into another two different parameters, horizontal and vertical. These two parameters can be better understood taking in consideration a graph. Their default values will be set to 0, which marks the center of the graph, where the horizontal and vertical lines intersect. Let’s take a look at how to tamper with them: a) Horizontal: If the value is positive and is 2, for example, the center of the Object will be placed in a distance 2 times the size of it’s Marker side to the right. If this value is negative, say -2, it will be placed at the same distance 2 times the size of it’s Marker side to the left. b) Vertical: If the value is positive and is 2, for example, the center of the Object will be placed in a distance 2 times the size of it’s Marker side, above it. If this value is negative, say -2, it will be placed at the same distance 2 times the size of it’s Marker side, below it.
After you have succesfully uploaded your image, and set your values, don’t forget to give it a title and say whether you’re its author or not.
Voila! You have succesfully created your Markers Object and can now create your Artwork! Remember that these two, Marker and Object, are not yet linked to one another. This will happen in the next step.
Artworks
Ok, so now that we have gone through everything we needed to get done to create an Artwork, let’s get to the process of actually creating it. A Jandig Artwork is defined by the junction of two things that will work together to create the interaction that we want to achieve.
You guessed it right, we will need to make use of the previously created Marker and Object. In this section we will select one Marker and one Object so that the magic can be done and an AR Artwork can be seen through your device’s camera. Head back to Jandig’s main page once again and look for this button:
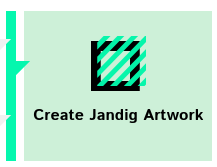
Create Artwork button
Click it, and you will be redirected to a page that looks like this:
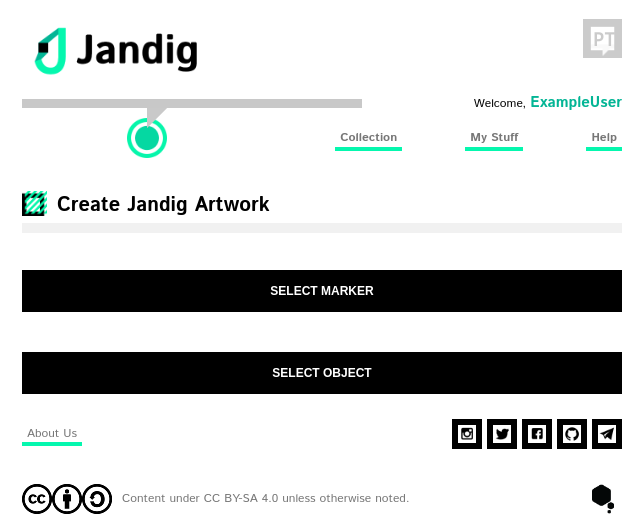
Select Marker and Object page
The process is pretty straight forward and simple and pratically the same for both itens. You will be greeted by a pop-up with a lot of Markers, and Objects in their case, or none. In the case of this manual ExampleUser, all of the test case Markers and Objects appeared.
Simply select one Marker, aggree to the terms and go press next to select one Object. Here’s an example of selected Marker and Object:
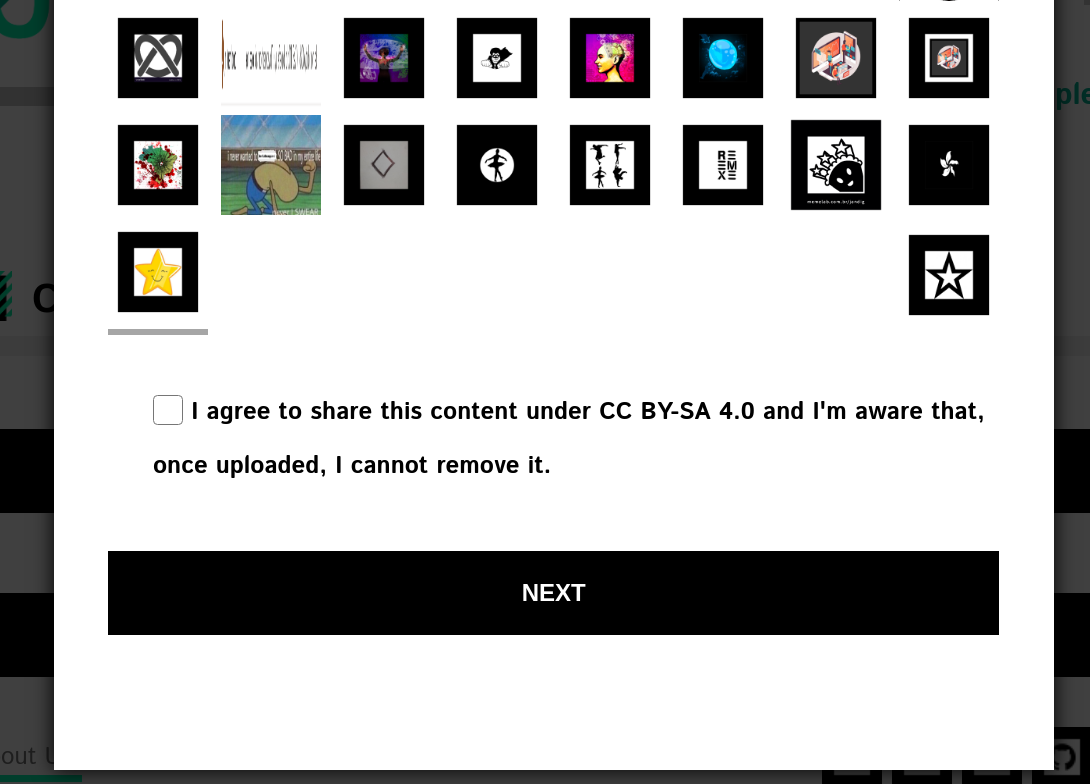
Select Marker from collection page
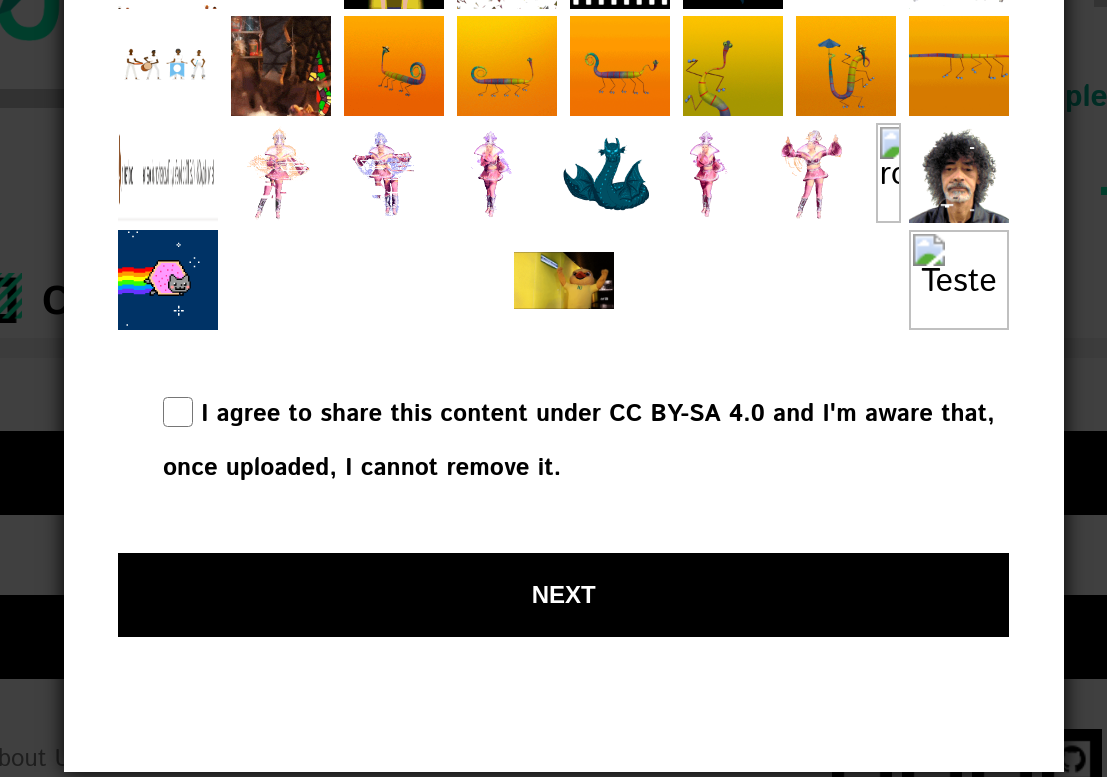
Select Object from collection page
Give a title and a description and you’re done!
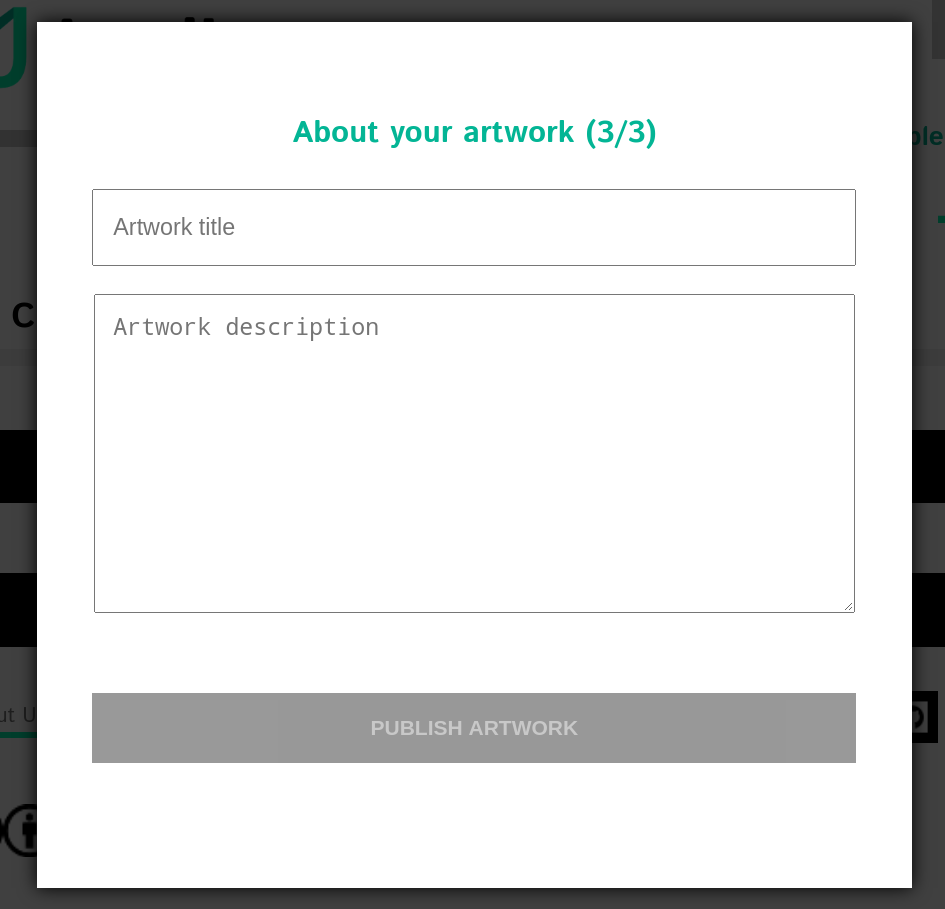
Description about Artwork page
Voila! You have succesfully created your first Jandig Artwork and are almost finished with this manual!
Exhibitions
Welcome to the last step! In this final phase, we will show you how to exhibit your Artwork to the world, using the process of creating an Exhibition. It is through exhibitions that the gerenal public, which include common users and even other artists, will have access to and be able to interact with your Artworks.
To get started, simply access the “Create Exhibition” icon.

Create Exhibition icon page
Next, you need to confirm that you want to select Artwork from the collection.
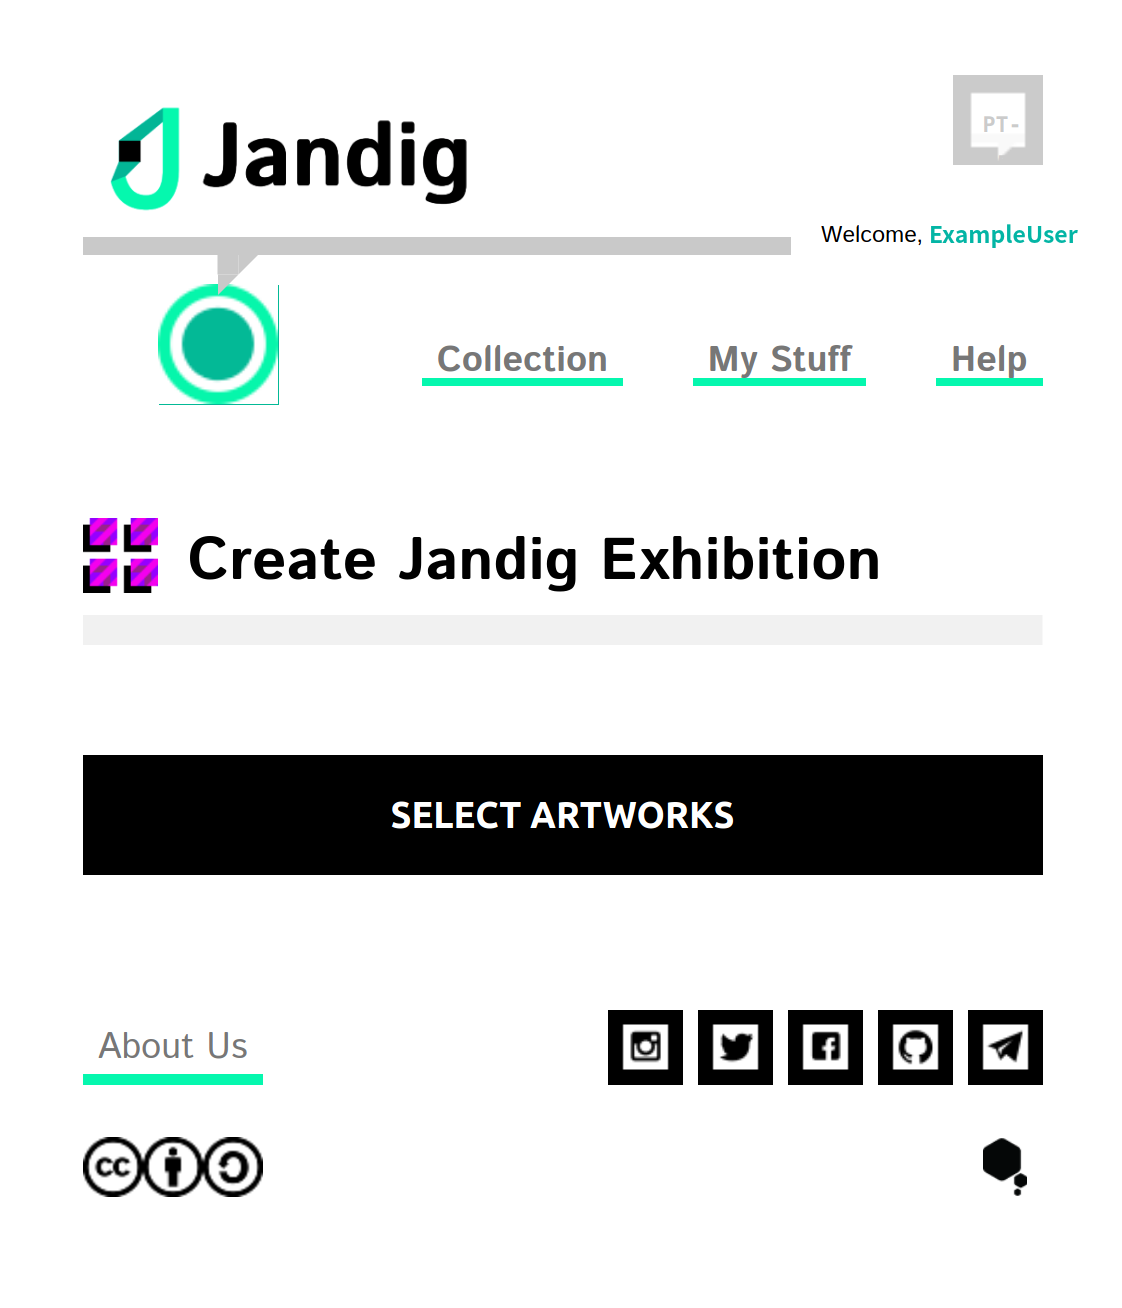
Select Artwork button
Among the Artworks in the collection, search for and select one or more that you want to expose.
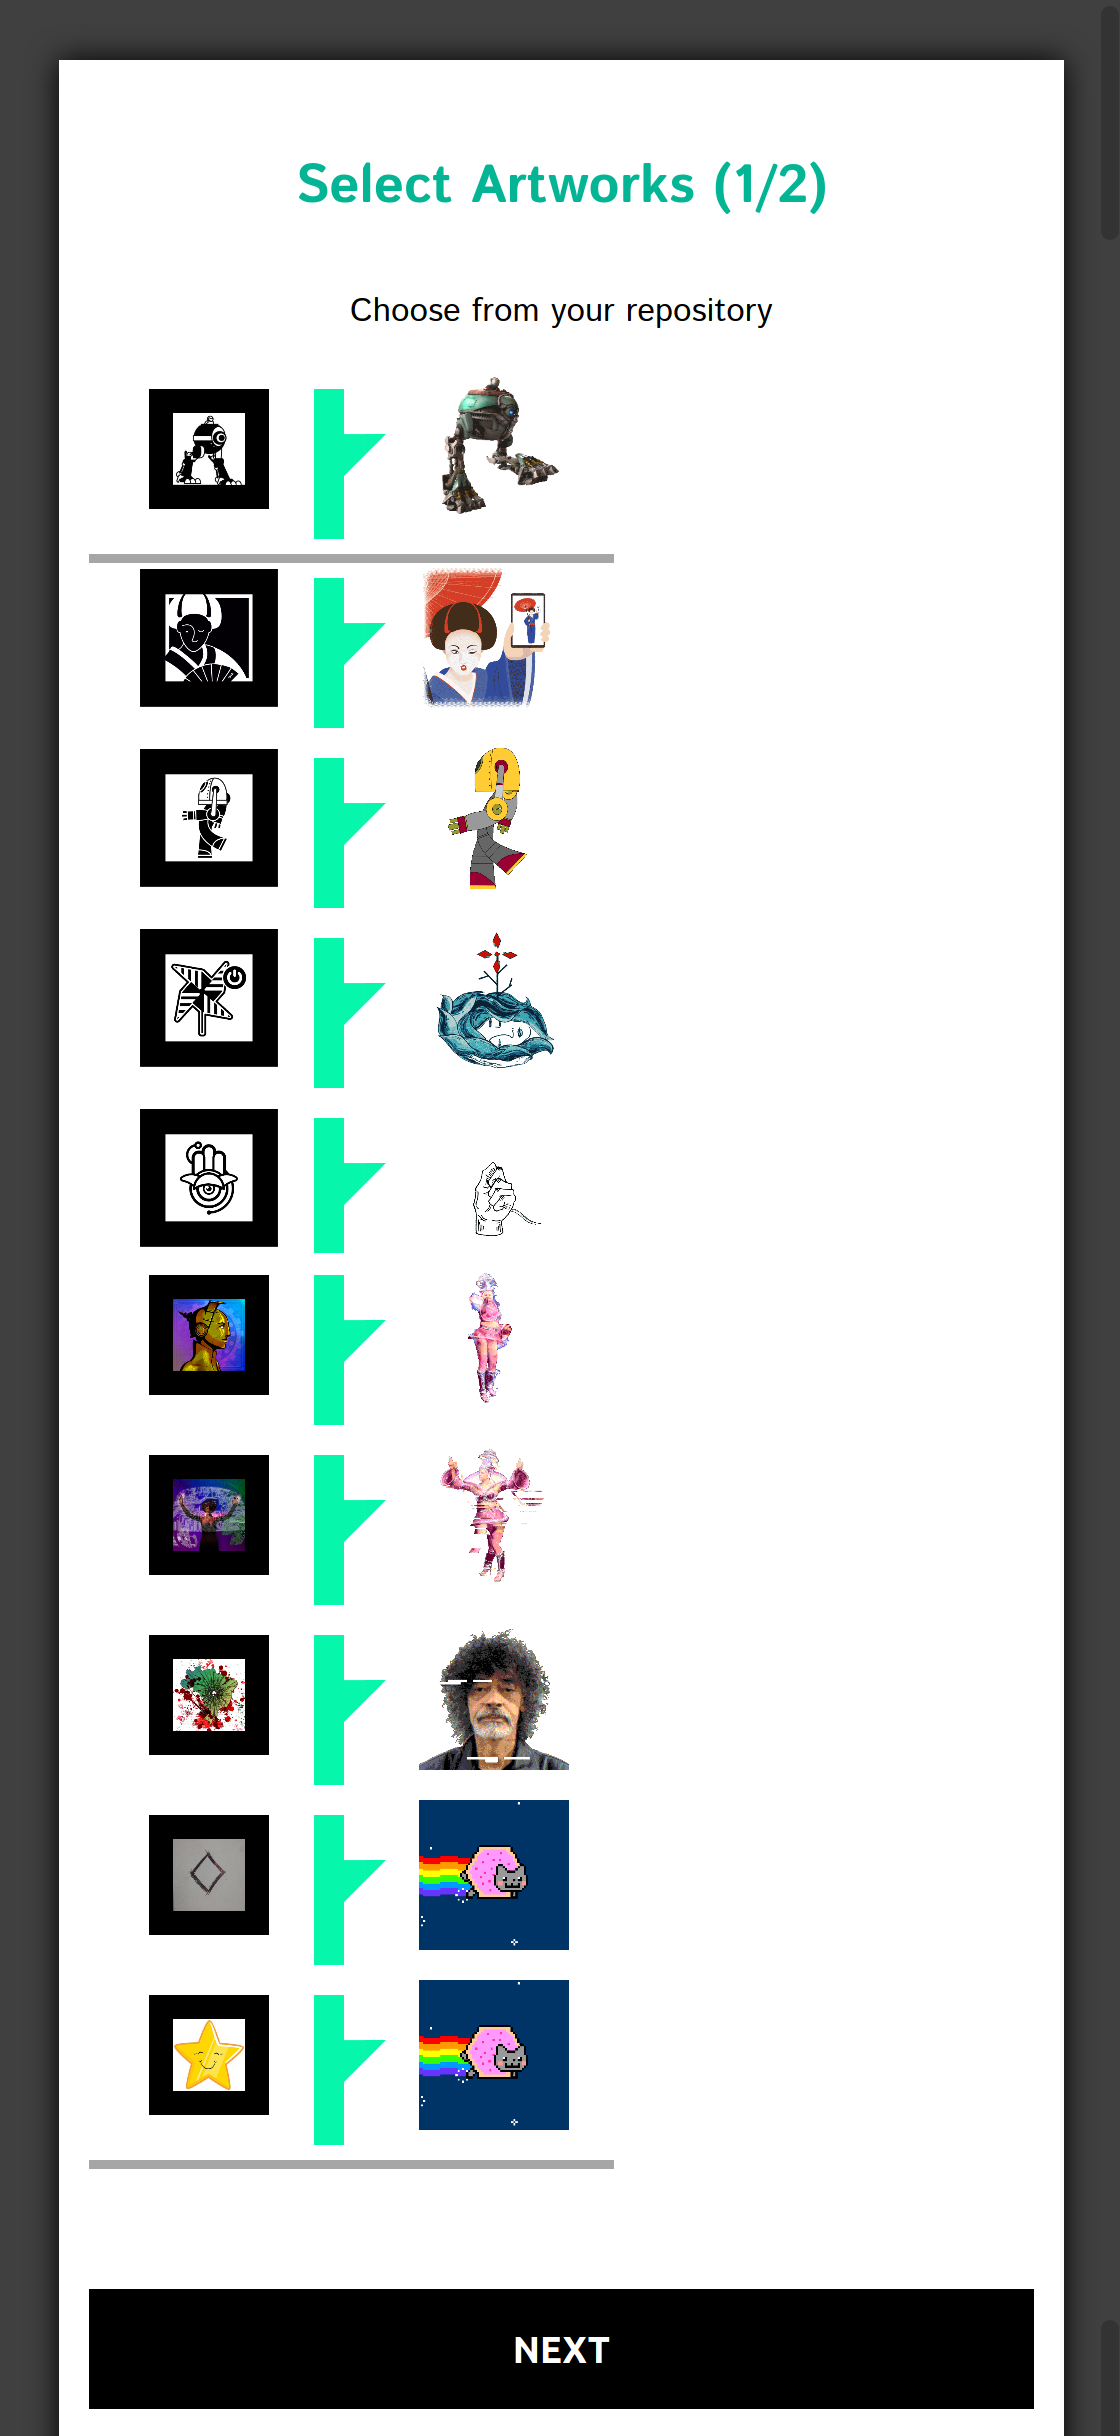
Select Artworks from collection
After selecting one or more Artworks, give your Exhibition a title and define its URL. This URL will be used to access the set of Artworks selected to your exhibition. For example, if you enter “expos” the definitive URL to access your creation will be “https://jandig.app/expos”.
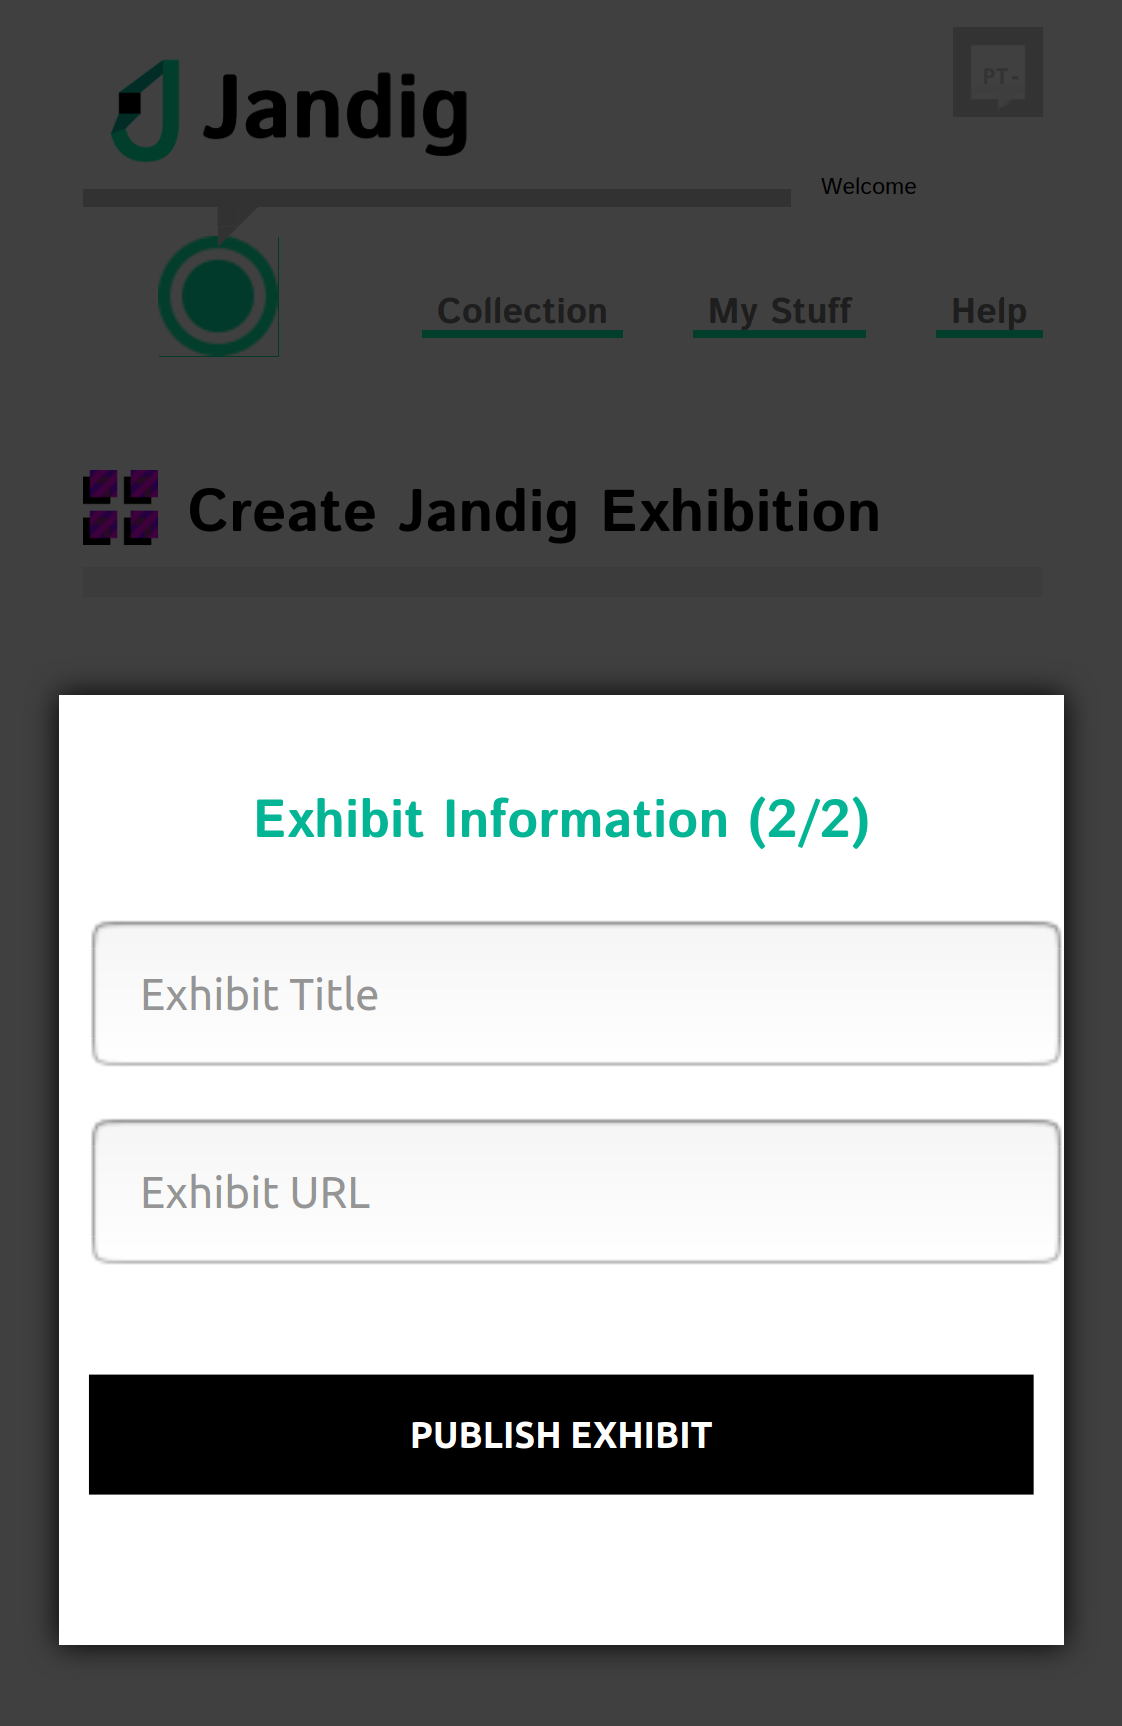
Details about your exhibition page
Access the final URL you just created, point the camera at the Marker and watch the magic happen!
You can see all your Exhibitions in the “My stuff” menu. And you can also access directly from there, clicking in “See this Exhibition”.
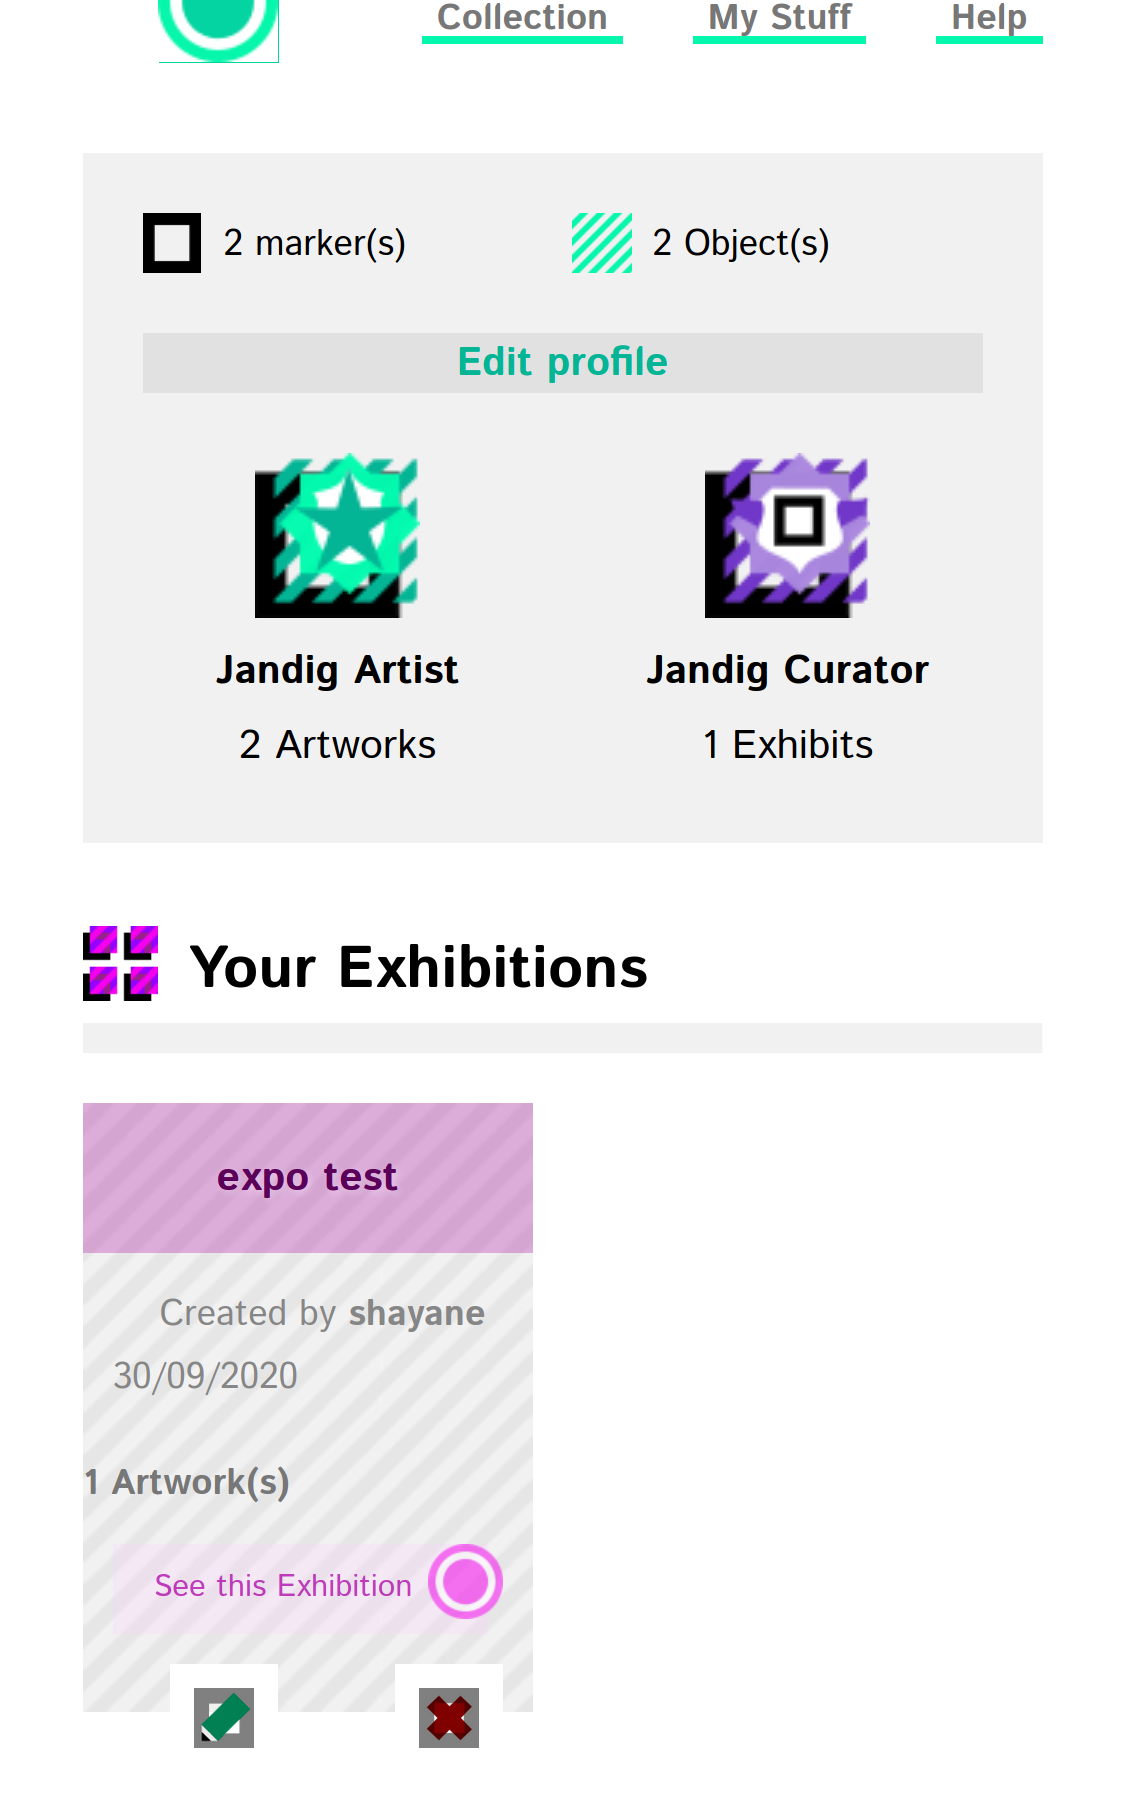
Exhibition created page
And that’s it! If you have got to this step, you have succesfully created and displayed your very own AR Artworks to the world. Congrats on making it this far, and enjoy all the experiences that jandig has to offer!